SAP IDoc Overview
This guide shows how to connect to SAP for IDOC Integrations using the MuleSoft Anypoint Studio7.x and the SAP Connector. This assumes you have access to an SAP R3 or S4 instance for this guide.
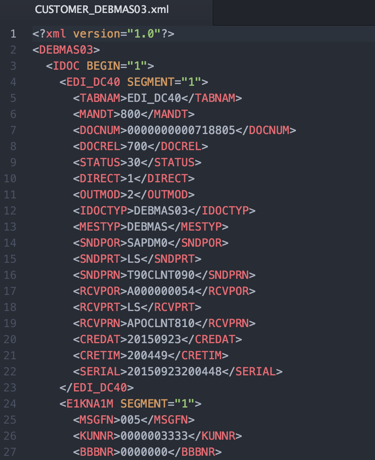
This guide will show you how to use the SAP Connector as an IDOC Inbound Endpoint within your flow. The project, once deployed, will serve as a JCo Server and listen for an IDoc of type DEBMAS. Once it receives the IDoc, it will output the content to a file on your development environment.
Reminder : This lab requires the use of your own SAP instance. If you don’t have one, you can leverage a hosted SAP service. For the purposes of this lab, we utilized Sandbox SAP.
Software Requirements:
-
Anypoint Studio 7.x
-
SAP SAP ERP or S/4HANA
-
SAP JCo Library
Setup SAP Connector
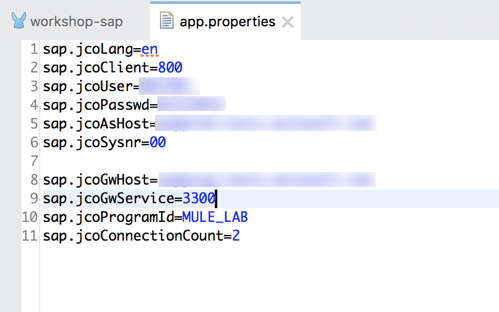
1.1 Right-click on the src/main/resources folder and open the file app.properties

We need to add some additional properties to this file. 1.2 Paste the following lines into the file:
-
sap.jcoGwHost=your-sap-host-or-ip.com
-
sap.jcoGwService=3300
-
sap.jcoProgramId=MULE_LAB
-
sap.jcoConnectionCount=2
The property corresponds to the Program ID you setup on your instance in Step 2.4 from the setup guide.
1.3 Next, from the Mule Palette, select the SAP Connector. Drag and drop Document source on to the canvas
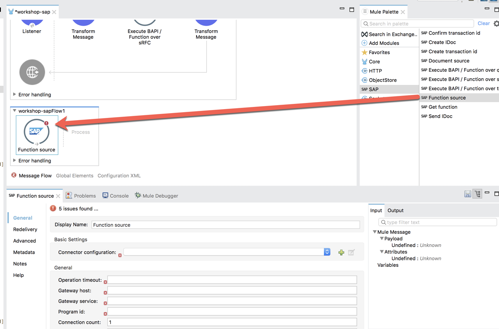
1.4 In the Document source module, click on the green plus sign to configure the Connector configuration
1.5 Back in the SAP Inbound window, all the required libraries should be green now.
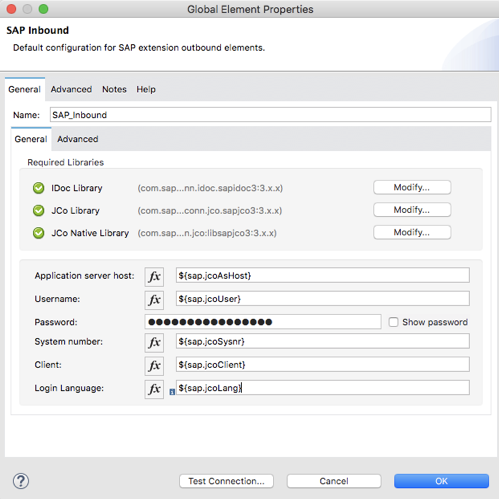
Fill in the remaining fields with the corresponding property placeholders below.
Key |
Value |
Application server host: |
${sap.jcoAsHost} |
Username: |
${sap.jcoUser} |
Password: |
${sap.jcoPasswd} |
System number: |
${sap.jcoSysnr} |
Client: |
${sap.jcoClient} |
Login Language: |
${sap.jcoLang} |
Click on Test Connection to make sure everything has been configured correctly before clicking on OK.
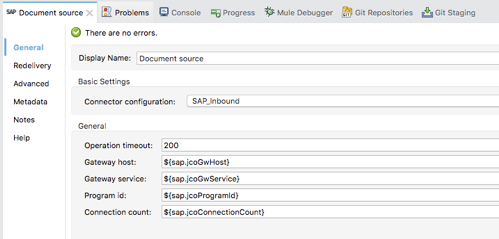
1.6 Back in the Mule properties tab for Document source, fill in the fields with the corresponding property placeholders below.
Key |
Value |
Operation timeout: |
200 |
Gateway host: |
${sap.jcoGwHost} |
Gateway service: |
${sap.jcoGwService} |
Program id: |
${sap.jcoProgramId} |
Connection count: |
${sap.jcoConnectionCount} |

Configure File Connector
2.1 Now that we’ve configured the SAP Connector, let’s complete the rest of the flow to process the event and write the IDOC to a folder.
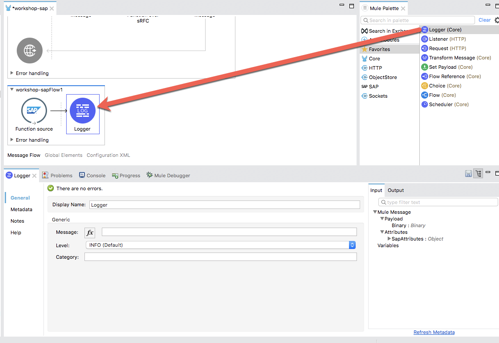
For logging purposes, let’s drag and drop a Logger into flow.
2.2 In the Mule Properties view for the Logger, enter the following into the Message field
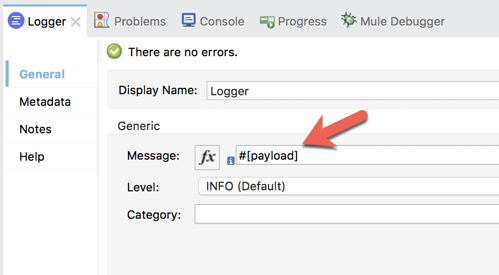
#
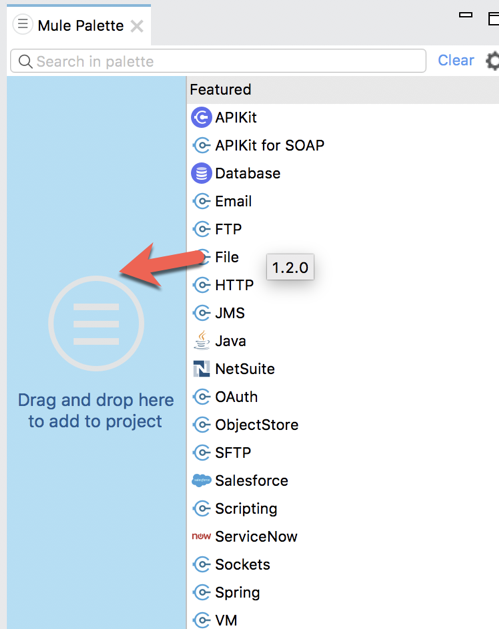
2.3 In the Mule Palette, click on Add Modules and drag and drop the File module to where it says Drag and drop here to add to project.
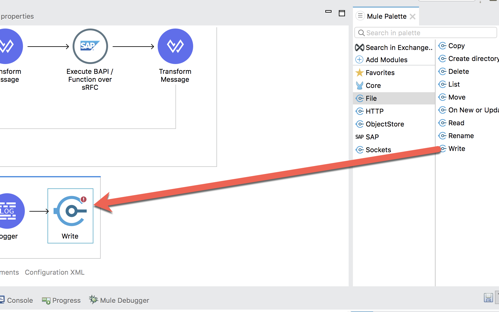
2.4 Select the File module and then select the Write operation and drag and drop that into the canvas. Place it after the Logger component.
2.5 Before we setup the Write operation, let’s create a file placeholder in the src/main/resources folder of the project where the IDOC will be written to.
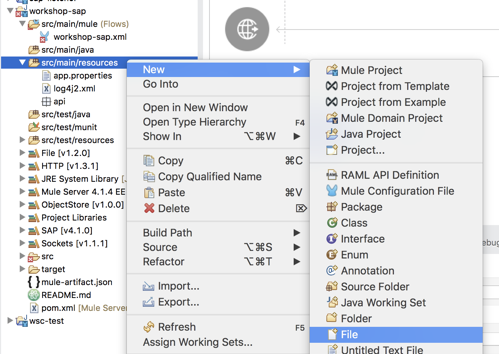
Right click on the src/main/resources folder and select New > File.
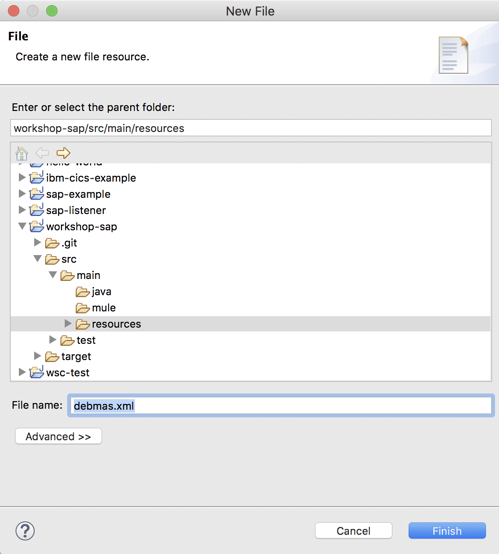
2.6 Give the file a name (e.g. debmas.xml) and click on Finish
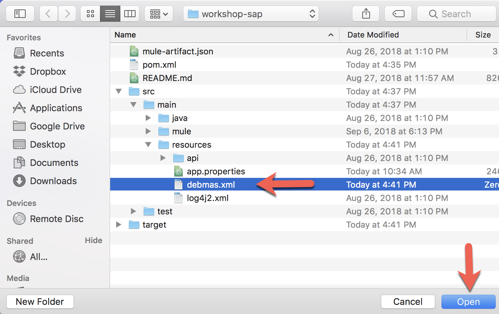
2.7 Back in the Mule properties tab for the Write operation, click on the Browse button next to the Path field in the General section.
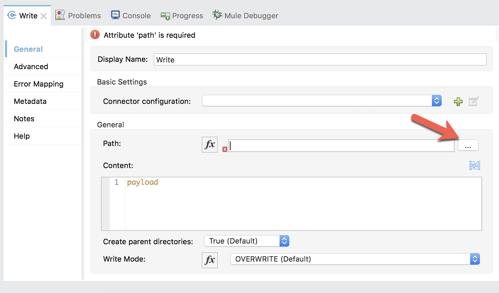
2.8 Navigate to and select the file you created and then click on Open
Test Application
3.1 Right-click on the canvas and select Run project workshop-sap

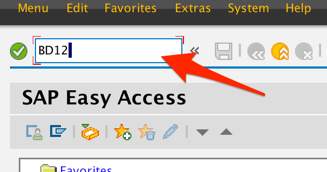
3.2 In SAP GUI, enter in SAP transaction code BD12
3.3 Enter a customer ID in the Customer field. If you don’t have one, you can use transaction code XD03
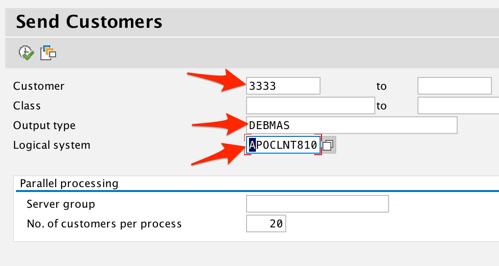
In the Output type field, enter DEBMAS
In the Logical system field, select the Logical System that was setup as the receiver.
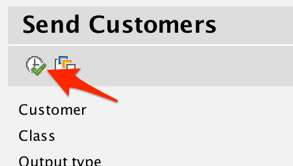
3.4 Click on Execute to send the IDoc to Mule.
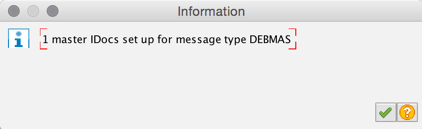
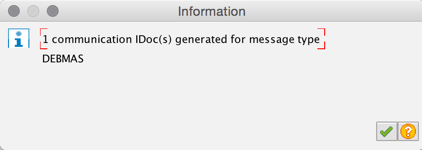
3.5 If configured successfully, you should see two Information windows. One is for the setup of the IDoc for the customer, the second is the outbound processing of the IDoc to be sent to the JCo Server.
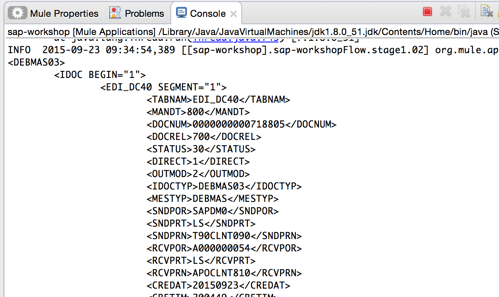
3.6 Back in Anypoint Studio, in the Console tab, you should see the Logger output the IDoc for the customer.
3.7 Lastly, a file should also be created where you configured the Path field in the File Connector.