SAP OData Connectivity
This guide shows how to connect to a SAP OData API using the MuleSoft Anypoint Studio7.x and the HTTP Connector. This assumes you have access to a SAP OData API for this guide. You will create a flow that uses the HTTP Connector that will proxy requests to the OData API.
1. Configure HTTP Listener
1.1 Open Studio and create a new Mule Project

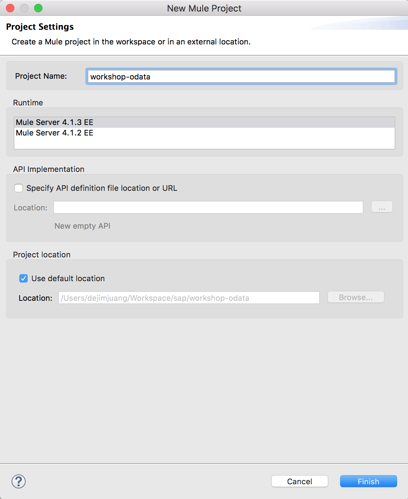
1.2 In the New Mule Project window, give the project a name (e.g. workshop-odata), select a Runtime, and then click on Finish
1.3 Once the new project is created, you’ll be presented with a blank canvas.
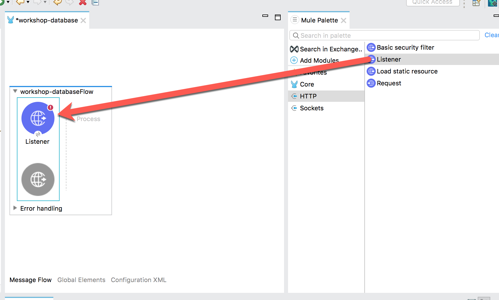
In the Mule Palette on the right, click on HTTP and then drag and drop the Listener into the canvas 1.4 If the Mule Properties tab doesn’t open, click the Listener icon and click on the green plus sign to create a new Connector configuration.
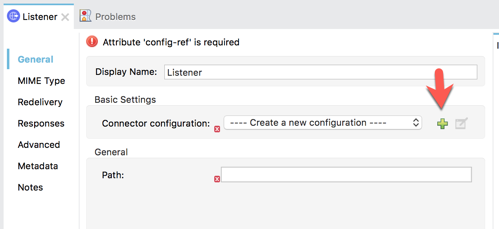
1.5 Under the General tab, and in the Connection section, fill in the host and the port with the following:
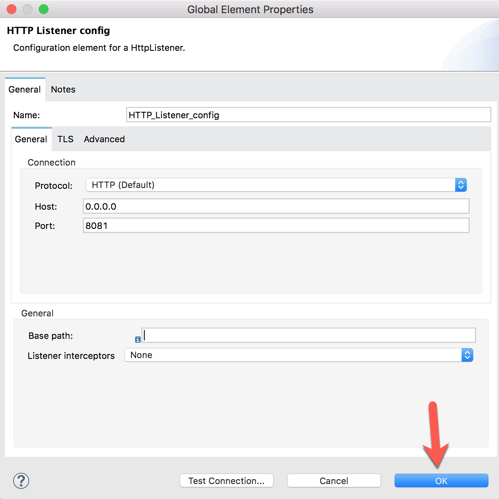
Host: 0.0.0.0 Port: 8081
And then click on OK 1.6 Back in the Listener Mule properties tab, fill in the Path field with the following:
/products
2. HTTP Requester
2.1 Let’s first check out the OData that we will be proxying. Switch to Google Chrome and navigate to the following URL:

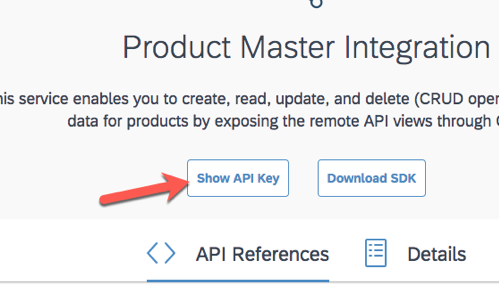
2.2 Click on Show API Key
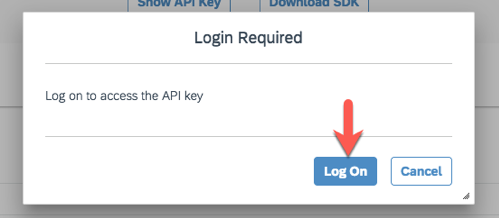
2.3 Click on Log On
2.4 Either register for an account or log on if you already have before.
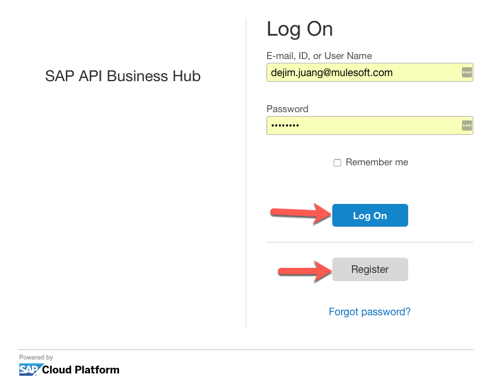
2.5 Once you’re redirected back to the API page, click on Show API Key again and then copy down the API key. You can click on Copy Key and Close.

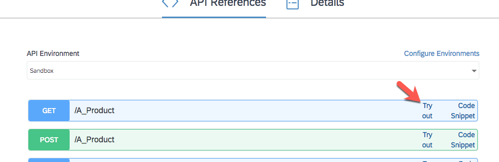
e.g. btVECyLQe8yLSJBtYAJzF8u2grSDsQNg 2.6 Click on Try out for the GET on /A_Product
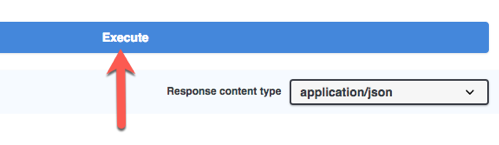
2.7 Scroll down and click on Execute
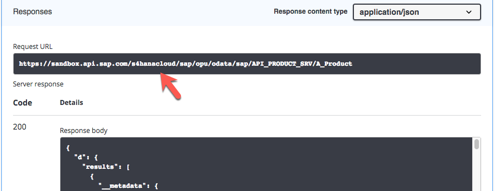
2.8 When the API returns a response, note the Request URL that is returned.
2.9 Let’s go ahead and switch back to Anypoint Studio.
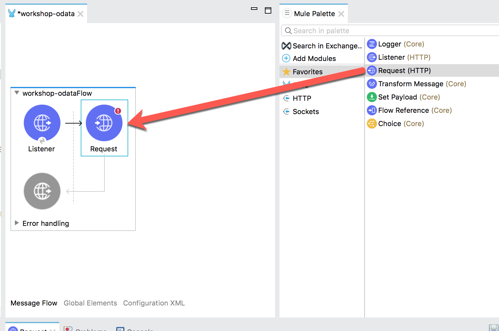
From the Mule Palette, find, click, and drag and drop the Request to the canvas. Place it after the Listener. 2.10 In the Mule Properties tab for Request, click on the green plus sign to setup the Configuration for the request.

2.11 In the HTTP Request configuration screen, change the Protocol under the Connection > Configuration section to HTTPS.

Set the Host field to sandbox.api.sap.com
and set the Port to 443
and then click on OK 2.12 Back in the Request configuration tab, set the Path to the following:
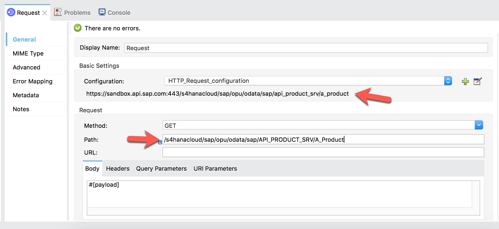
/s4hanacloud/sap/opu/odata/sap/API_PRODUCT_SRV/A_Product
You should see the complete URL displayed under the Configuration field in the Basic Settings section. 2.13 Next we need to set the headers that we pass to the API.
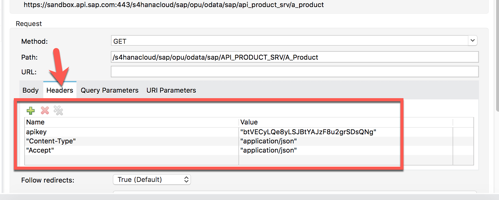
Click on Headers tab and click on the green plus sign to add three headers. Be sure to wrap each name and value with double quotes.
apikey : [API key from Step 2.5] Content-Type : application/json Accept : application/json 2.14 We can also filter the OData API by passing in query parameters.
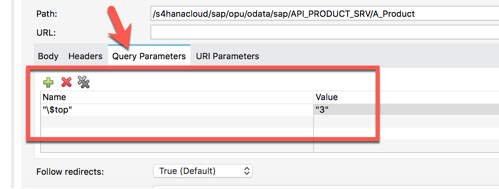
Click on the Query Parameters tab and enter in the following name and value pair. Again, be sure to wrap each with double quotes.
"\$top : 3"
Note: For the ‘$’ sign, you’ll need to include the backslash.
3. Transform API Response
3.1 Lastly, we want to transform the output from the API and only return a subset of the data.
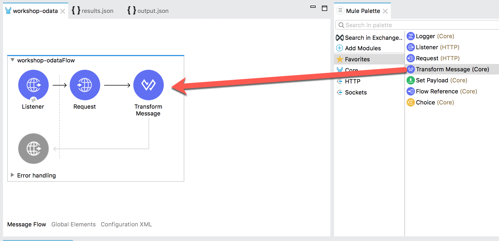
From the Mule Palette, find, select and drag and drop the Transform Message component to the canvas and place it after the Request component
3.2 Next we need to setup the metadata to allow use to easily map the response from the OData API to what we want to receive from the proxy.
Before we do that, we need to copy example JSON files into the project that define the metadata.
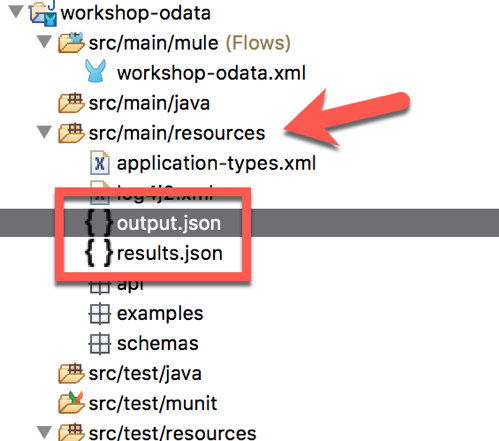
Click and download the two files to your src/main/resources folder of the project.
output.json results.json
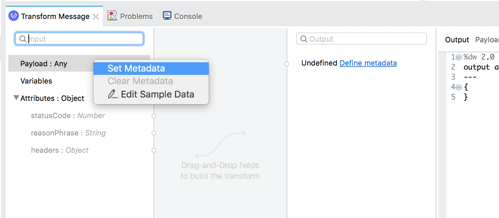
3.3 In the Transform Message properties window, right-click on Payload : Any and select Set Metadata
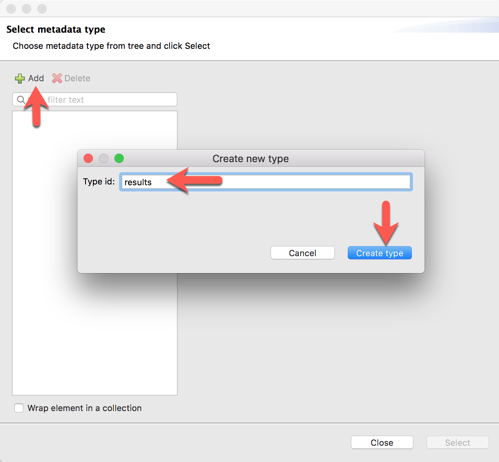
3.4 In the Select metadata type window, click on Add and then type results for the Type id: and then click on Create type
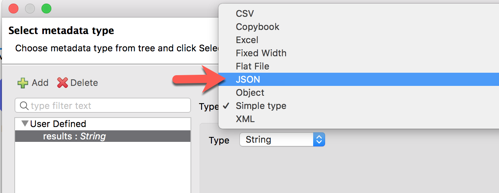
3.5 Change the Type to JSON
3.6 Change the drop-down to Example and then click on the Browse button and select the results.json file that you copied into the project.
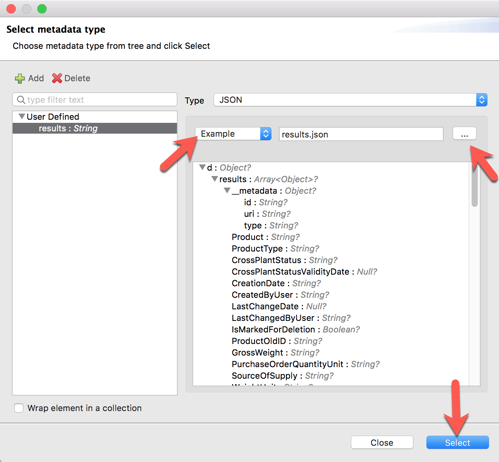
The metadata will be displayed below.
Click on Select
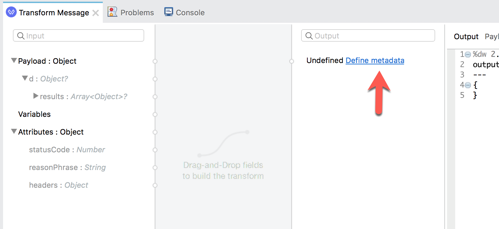
3.7 Next, click on Define metadata on the output side of the Transform Message properties window.
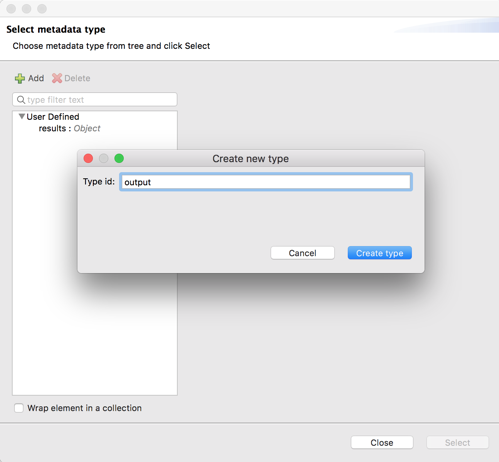
3.8 Similar to what we setup for the results.json file, let’s create another metadata type called output
3.9 Set the Type to JSON as well and set the drop-down to Example and point it to the output.json file.
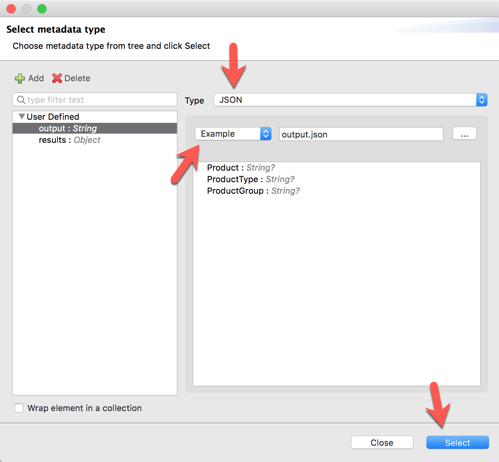
Click on Select to continue.
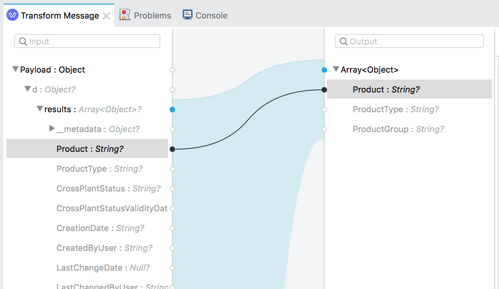
3.10 In the Tranform Message properties window, expand the payload and find the Product : String field and then click and drag and drop it over the Product : String field on the output side.
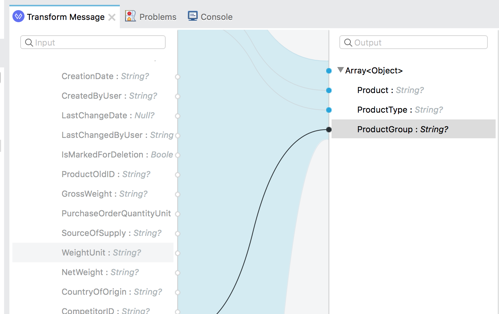
3.11 Repeat the same for the ProductType and the ProductGroup
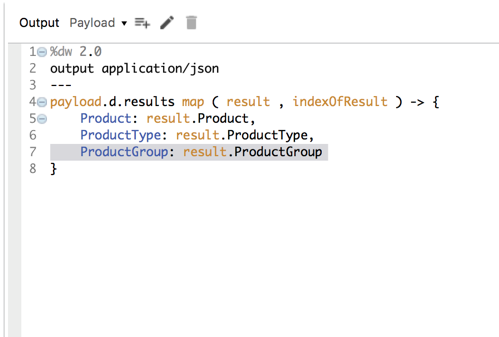
3.12 In the script window, you will see the auto-generated DataWeave script. This is the language that defines the mapping between the two endpoints.
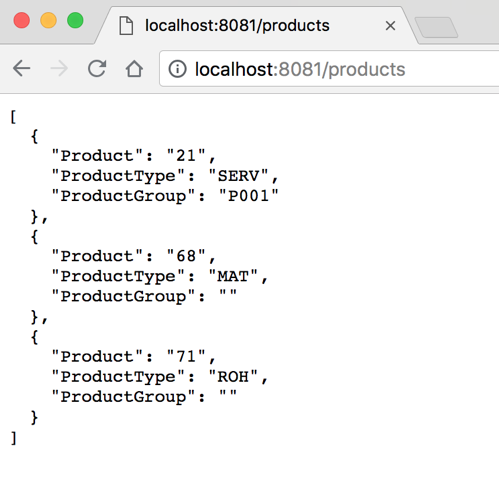
3.13 Let go ahead now and test the application.
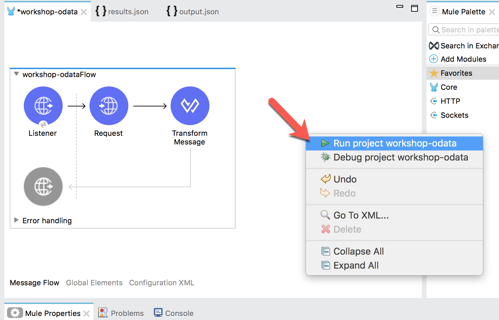
Right click on the canvas and select Run project workshop-odata
3.14 Switch to Google Chrome and navigate to the following URL: