SAP Setup for Outbound Communication (Optional)
There are some configurations that need to be setup on your SAP instance for outbound communication. These configurations allow MuleSoft to register and act as a partner system waiting for messages from the SAP system.
The modules in this workshop that walkthrough inbound communication with MuleSoft (BAPI Inbound, IDoc Inbound) are dependent on these configurations. If you are unable to configure SAP according to these steps, you can skip those modules.
Please use this guide as a reference. Your SAP instance may be configured differently and have restrictions that prevent you from completing the guide fully. If you run into issues on the SAP side, please contact your SAP Administrator.
Overview
|
Reminder: The SAP Connector module requires the use of your own SAP ECC R/3 or SAP S/4 HANA On-Premise instance. If you don’t have one, you can leverage a hosted SAP service. For the purposes of this guide, we utilized Sandbox SAP. |
1. SM59 - Create a RFC Destination
The first step is to create a RFC destination. The RFC destination is a symbolic name that is used to direct events to a target system masking the Program ID. The target system in this case is the MuleSoft SAP Connector which acts as an inbound endpoint to receive IDocs and Functions over RFC. The Program ID is configured in both the SAP GUI and the SAP Connector.
1.1
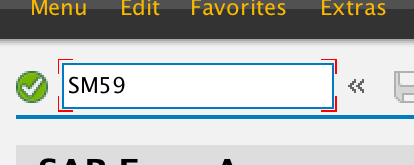
1.1 Enter in SAP transaction code SM59
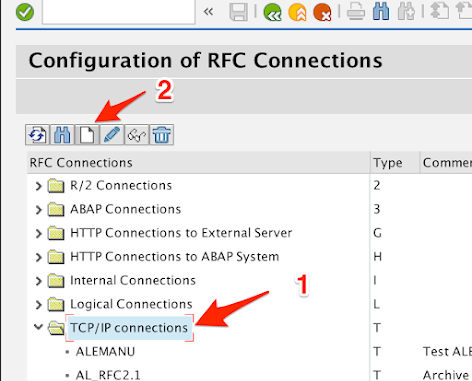
1.2
-
Expand the TCP/IP connections node
-
Click on the New icon.
1.3

-
Enter a name in the RFC Destination field.
e.g. MULE_LAB
For the Connection Type field, enter a T
-
Click on the Save icon
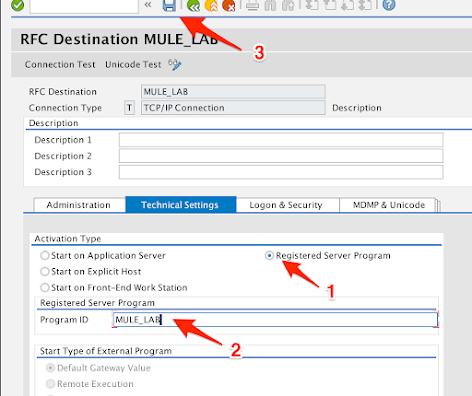
1.4
-
Under the Activation Type section, check the Registered Server Program radio button.
-
Under the Registered Server Program section, enter a program ID in the Program ID field.
e.g. MULE_LAB
-
Click on Save
1.5

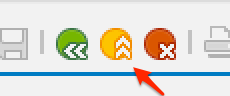
Click on the yellow circle to exit and return to the SAP Easy Access screen.
2. Create Port for IDoc Processing - WE21
The next step is to create a port for IDoc processing. A port identifies where to send messages and will be linked to the RFC destination that you created in the previous step (e.g. MULE_LAB)
2.1
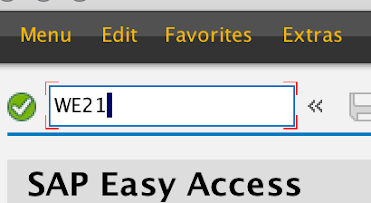
Enter in SAP transaction code WE21
2.2
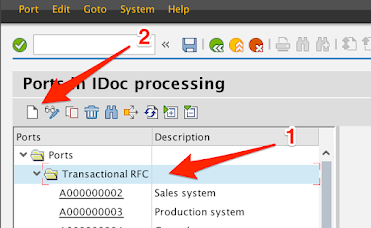
-
Expand the Transactional RFC node.
-
Click on the New icon.
2.3
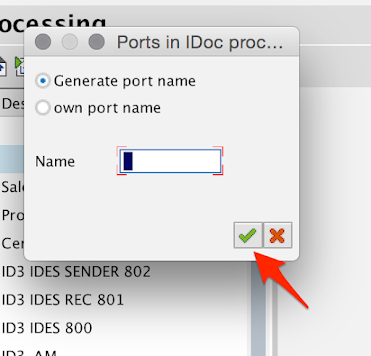
Leave the Generate port name radio button selected and click on the Green check mark button.
2.4
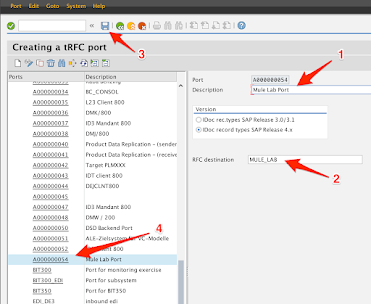
-
Fill in the Description field
-
Enter the RFC destination that was created in Step 2
e.g. MULE_LAB
-
Click on the Save button at the top.
-
Remember the port name that was created. You’ll need this later in the setup.
e.g. A000000054
2.5
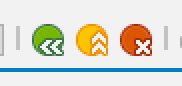
Click on the yellow circle to exit and return to the SAP Easy Access screen.
3. Use or Create Two Logical Systems - SALE
Logical Systems are the unique IDs that represent participating systems in a distributed environment. For these labs, you will need two Logical Systems. One of which corresponds to the SAP System and the other to the MuleSoft SAP Connector.
Your instance should already have a Logical System setup for SAP and assigned to the client. You will have to either create a new Logical System for Mule, or leverage an existing one in the system. This will represent the MuleSoft SAP Connector to either function as an inbound or outbound endpoint.
3.1
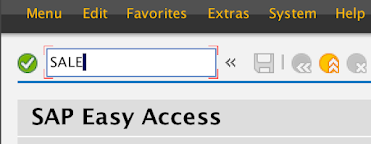
Enter in SAP transaction code SALE
3.2
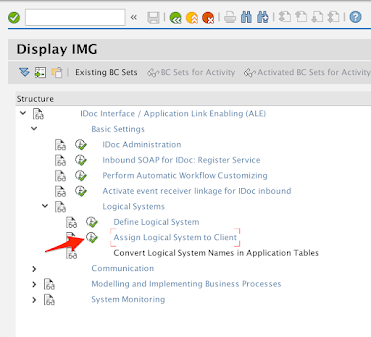
Expand Basic Settings > Logical Systems
Click on the icon next to Assign Logical System to Client
3.3

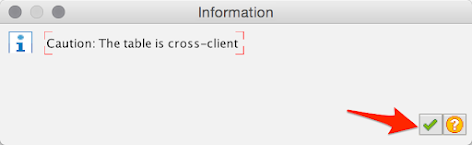
If the Information window pops up, click on the Green check mark button to proceed.
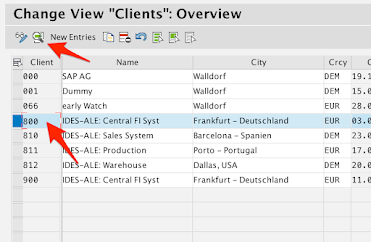
3.4

Find your Client ID number in the list and click on the Details icon.
e.g. 800
3.5
Find your Client ID number in the list and click on the Details icon.
e.g. 800
3.6
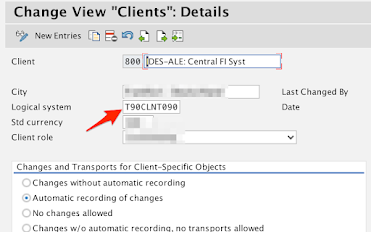
Take note of the Logical system field.
e.g. T90CLNT090
3.7
Click on the yellow circle to exit and go back up a level.
3.8
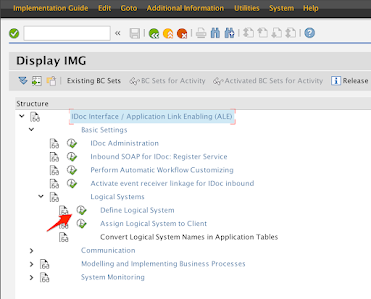
In the Display IMG screen, click on the icon next to Define Logical System
If the Information window pops up, click on the Green check mark button to proceed.
3.9
If you have permission to create new Logical System, click on New Entries.
3.10
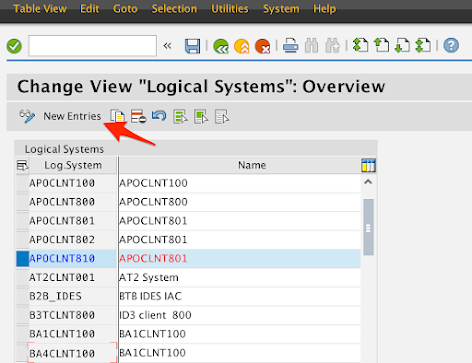
Otherwise, take note of a Logical System from the list.
e.g. APOCLNT810
3.11

Click on the yellow circle to exit and return to the SAP Easy Access screen.
4. Use or Create a Partner Profile - WE20
Partner profiles are a prerequisite for data exchange. This involves defining who can exchange messages with the SAP system and using which port.
The partner profiles you use (or create) are tied to the Logical Systems from the previous step. Generally, the Logical System for the client should already exist.
4.1
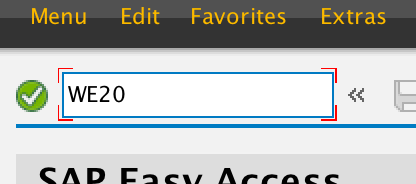
Enter in SAP transaction code WE20
4.2
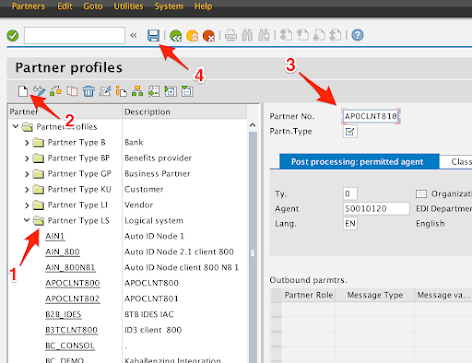
-
Expand the Partner Type LS node.
-
If you created a new Logical System in Step 4, click on Create. Otherwise, look to see if the Logical System Partner Profile already exists. It will have the same name as the Logical System.
e.g. T90CLNT090
If the Partner Profile doesn’t exist, click on Create.
-
In the Partner No. field, enter in the Logical System name of either the one you created or of one that already exists in the system.
e.g. APOCLNT810
-
Click on Save
4.3
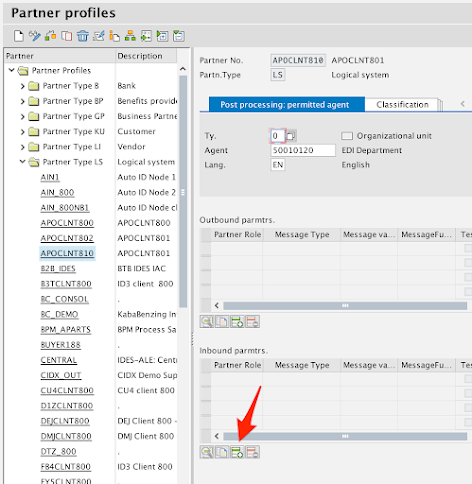
In the Partner Profile, click on Create inbound parameter in the Inbound parmtrs. section.
For the purposes of this guide, you’ll just be adding one message type (DEBMAS) but you can add as many here as needed.
4.4

-
In the Message type field, enter the following:
DEBMAS
-
In the Process code field under the Inbound options tab, enter the following:
DEBM
-
Click on Save
-
Click on Back
4.5
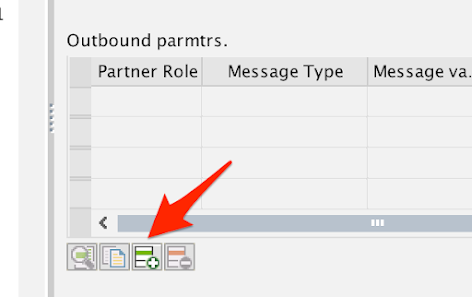
Back on the Partner Profiles screen, click on Create outbound parameter under the Outbound parmtrs. section.
For the purposes of this guide, you’ll just be adding one message type (DEBMAS) but you can add as many here as needed.
4.6
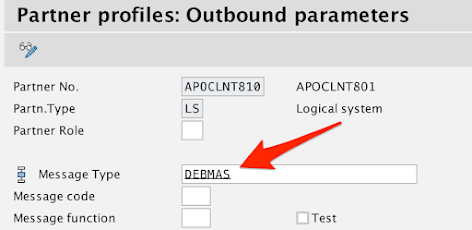
In the Message Type field, enter the following:
DEBMAS
4.7
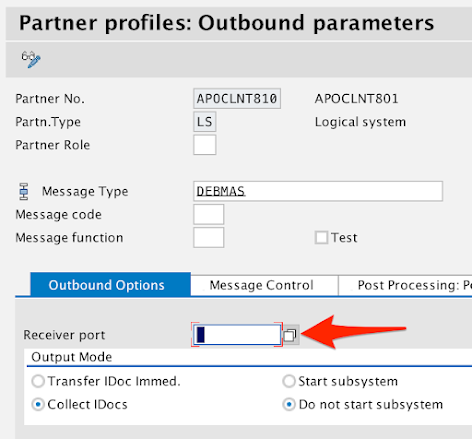
In the Outbound Options tab, click on the Receiver port field.
You can either type in the Port you created in Step 3 or click on the icon to the right of the field.
4.8
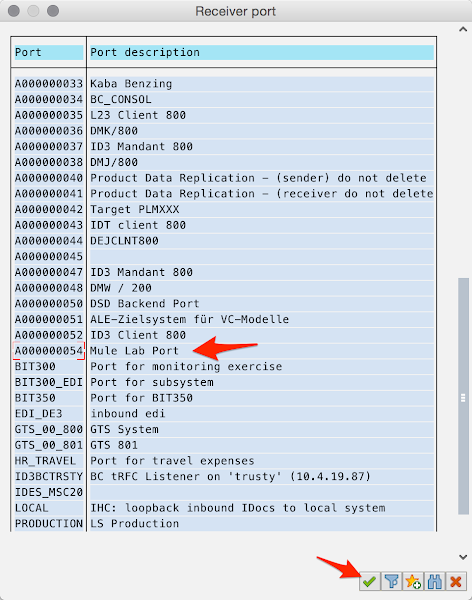
If you clicked to search for the port, you’ll be presented with the Receiver port screen.
Find and select the port and click on the Green check mark.
4.9
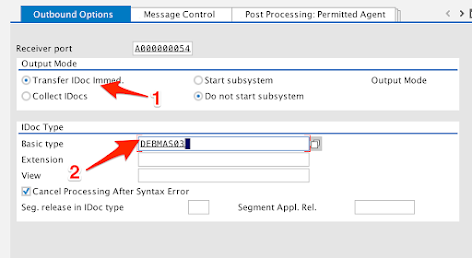
-
Under the Output Mode section, select the Transfer IDoc Immed. radio button.
-
Under the IDoc Type section, enter the following in the Basic type field:
DEBMAS03
4.10
Click on Save
4.11

Click on the yellow circle to exit to the Partner profiles screen and then click it again to return to the SAP Easy Access screen.
5. Create a Distribution Model - BD64
A distribution model is used to describe the ALE message flow between logical systems. In the case of this workshop, the SAP Client and the MuleSoft SAP Connector. Business objects are distributed to connected recipients according to a unique distribution model that can contain rules of varying complexity depending on the type of business objects involved.
5.1

Enter in SAP transaction code BD64
5.2
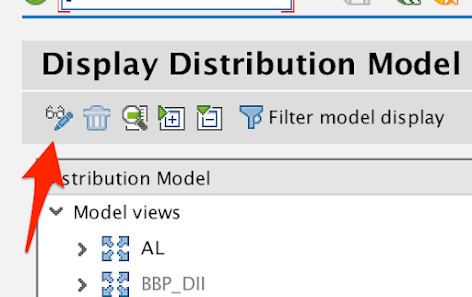
Click on the Switch between display and edit mode icon.
5.3
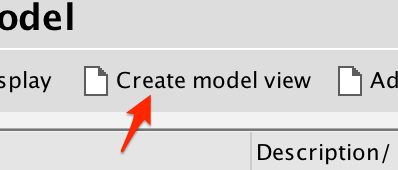
Click on Create model view
5.4
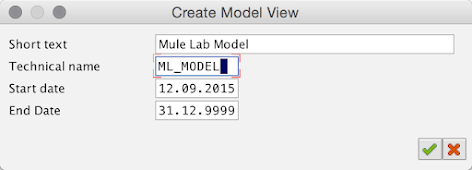
In the Create Model View window, fill in the Short text field and the Technical name field
e.g. Mule Lab Model / ML_MODEL
Click on the Green check mark to save your changes.
5.5

Highlight the newly created model view at the bottom of the list.
5.6
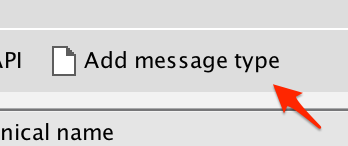
Click on Add message type
For the purposes of this guide, you’ll just be adding one message type (DEBMAS). If more are required, you would repeat this step.
5.7
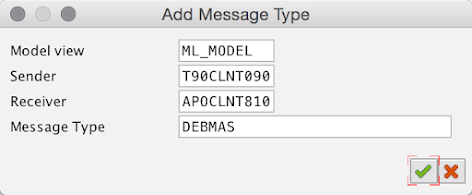
In the Add Message Type window, enter data in the following fields:
Sender : <Partner profile from Step 4.5>
e.g. T90CLNT090
Receiver : <Partner profile from Step 4.9>
e.g. APOCLNT810
Message Type : DEBMAS
5.8

The model view should look like the following screen.
5.9
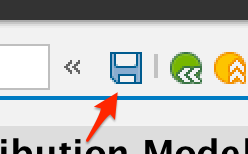
Click on Save
5.10

Click on the yellow circle to exit and return to the SAP Easy Access screen.
Summary
These setup steps are provided as a general guideline and can vary from system to system depending on your user permissions and pre-existing configurations that may already be applied. Once configured, you can walk through the IDOC integration guide here. It will show you how to setup the SAP Connector to act as an inbound endpoint.